Setting up a small videoconferencing server
Update (6 April 2020): Having just updated my server, it appears that the latest version of Jitsi leads to some issues. I ended up reinstalling using the quick install guide, which worked without any issues. Best to go with that for now!
Like a lot of the world, we're in "lockdown" over here, with only a few businesses allowed to open. Obviously a lot of people are now working from home, so videoconferencing is now a key tool in everyone's arsenal. The defacto option appears to be Zoom, but they have a fairly sketchy record on user privacy which has left many people questioning whether they ought to be trusted.
Rather than think too hard about whether Zoom was worth using, I decided to try another option - the open source Jitsi. It offers many of the same features as Zoom, but since you run the server, you don't have to worry about where your audio and video are going. Although they have a quick install guide, I've been having a few issues with getting them to work. Here are the steps I took to get things running.
To get started, you'll need a Linux server with:
- Root access via ssh, and
- A DNS record pointing to it. This isn't strictly necessary, but it will make things much easier.
I used a Nanode from Linode, but the smallest Droplet from Digital Ocean would also be fine, and both have promotions with free credit which would be perfect for a project like this. In terms of OS, I opted for Debian 10 (buster), but the following shouldn't be too different for any similar system.
Once you're logged in, start by updating everything and installing gpg (for the Jitsi repository) and the nginx webserver. Installing nginx first is the main change I made from the official documentation, but fixed some issues I was seeing where both nginx and the Jitsi module ended up listening on the same port, preventing nginx from starting.
# apt update && apt upgrade
# apt install gpg && nginx
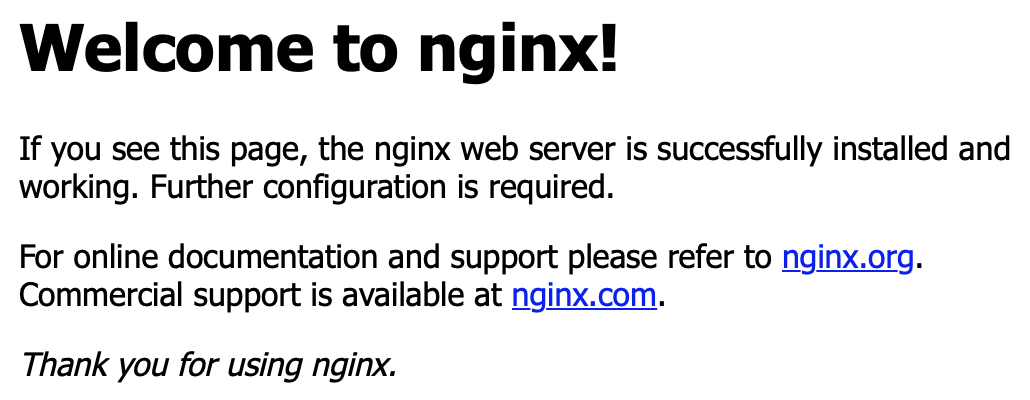
Set the hostname of the server by running hostnamectl set-hostname subdomain.domain.com, and editing /etc/hosts so that 127.0.0.1 points to the same name. If you navigate to the domain now, you should see the nginx default page:

From here, remove the default site, install the key for the jitsi-stable repository, and then install Jitsi itself.
# rm /etc/nginx/sites-enabled/default
# echo 'deb https://download.jitsi.org stable/' >> /etc/apt/sources.list.d/jitsi-stable.list
# wget -qO -  https://download.jitsi.org/jitsi-key.gpg.key | apt-key add -
# apt update && apt install jitsi-meet
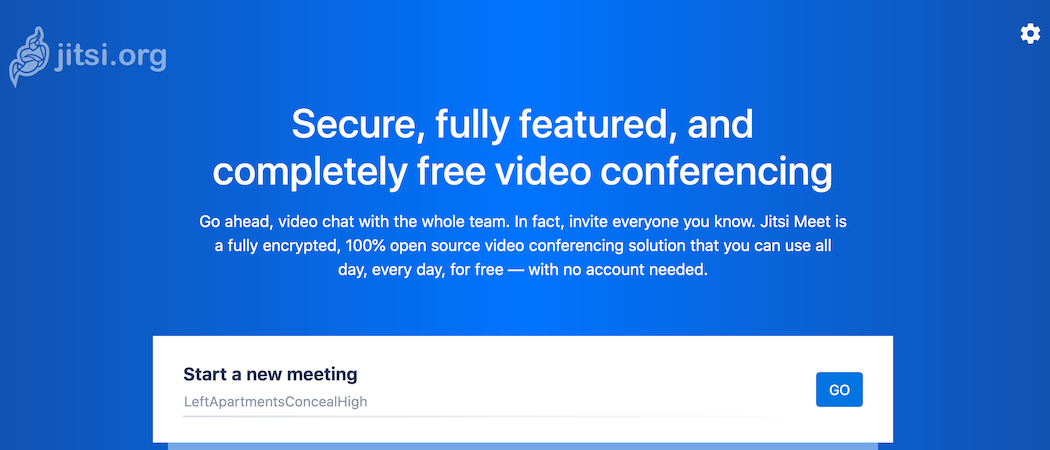
Visiting the site now should show you the Jitsi landing page:

The final step is to use Let's Encrypt to get a free SSL certificate, install it, and restart nginx. Jitsi provide a script to do this, so to finish off you can simply run it and restart nginx.
# /usr/share/jitsi-meet/scripts/install-letsencrypt-cert.sh
# service nginx restart
I'm sure the Jitsi project is going to be changing fairly rapidly given the current pace of things, so I'll try to keep this updated.