Playaway audiobook teardown
I've been playing with electronics for a few years now, and given my interest in how things work, enjoy reading people's commentary as they take apart various devices. I recently found this Playaway at a second-hand book sale and given it was just $1, decided to see what was inside. I hadn't seen one of these before, but they're a small digital audio player that comes pre-loaded with a particular audiobook and runs on a single AAA battery. Their website seems to be targeted towards libraries, so they're an alternative to digital distribution or sets of CDs.
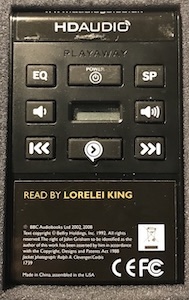
Judging by their website, this is an earlier model of the player with a simple LCD and buttons for basic functions such as play/pause, changing tracks, adjusting volume, and power. The SP and EQ buttons adjust playback speed and equaliser preset respectively. However, this isn't particularly interesting, so let's get the cover off!
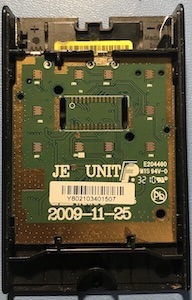
Opening the battery door and levering off the front cover gets us here. The keypad and LCD are held in place by the cover, and the contacts for both are clearly visible. The silkscreen tells us it was made by j.e. Unit Technology in late 2009, and their website shows they're still making hardware for Playaway as well, with some newer products like the Playaway View in their portfolio.
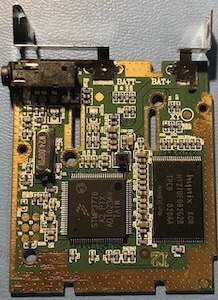
The back is where the two main ICs are located. The rectangular chip is a 2 Gbit (256 MiB) Hynix flash, and the square IC is a SigmaTel STMP3770. This is a fairly interesting system-on-chip (SoC), designed solely for operating media players and carrying everything you'd need to make the next iPod killer. The only things needed are storage and passives for peripherals such as the voltage regulator. The Freescale logo on this one indicates that it was made after SigmaTel were bought, but following Freescale's merger with NXP it seems that the datasheets have disappeared. Fortunately, their popularity in media players means that the Rockbox project has a lot of information on this family of chips, including an archived datasheet for the 3770.
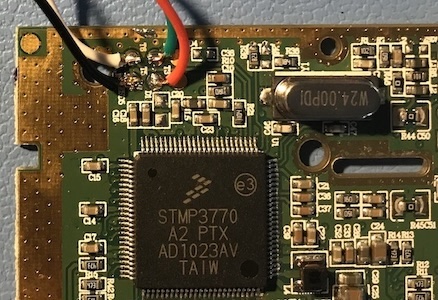
One thing I'd noticed when I took the back sticker off was holes to access a series of six test points on the PCB. At first I guessed that this would be for debugging, but the datasheet didn't show the pins associated with the SWD connector. Looking at where the traces from these pads went made the function fairly obvious though. T5 is connected on four sides to a plane and is continuous with the negative battery terminal, so must be GND. T4 and T6 connect to pins 77 and 78 of the IC, which are USB_DP (D+) and USB_DM (D-) respectively. This meant that T3 had to be the 5 V supply from a USB port, and sure enough it was connected to pin 53 of the 3770 - VDD5V. As far as I can tell, the other two pads aren't connected to anything on the STMP3770, though I'll go back and have another look.
I don't have any pogo pins (or a way to mount them), so I soldered some jumper wires to the test points. When I connected the player to my computer, I got this:
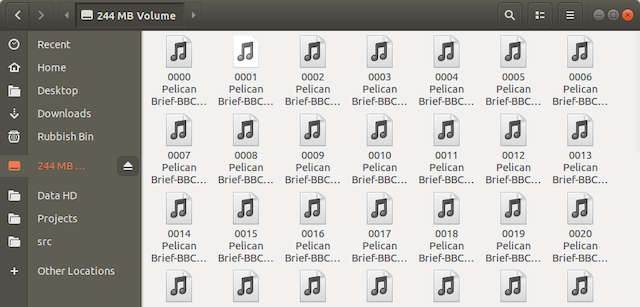
It took some searching to find out what format these files were actually in. None of the common tools (e.g. VLC and ffmpeg) were able to decode them, which meant it wasn't Adaptive Multi-Rate - Wideband (apparently common for audiobooks on Nokia phones). Guessing it was probably related, I tried to find a way to read the newer Extended Adaptive Multi-Rate - Wideband format, eventually findinding a request for AMR-WB+ support in ffmpeg, which in turn pointed me towards an encoder/decoder. You'll need Windows (or Wine), but the syntax is very simple: decoder.exe -ff raw -if path\to\encoded\file.awb -of path\to\decoded\file.wav produced a WAVE file of the audio.
